
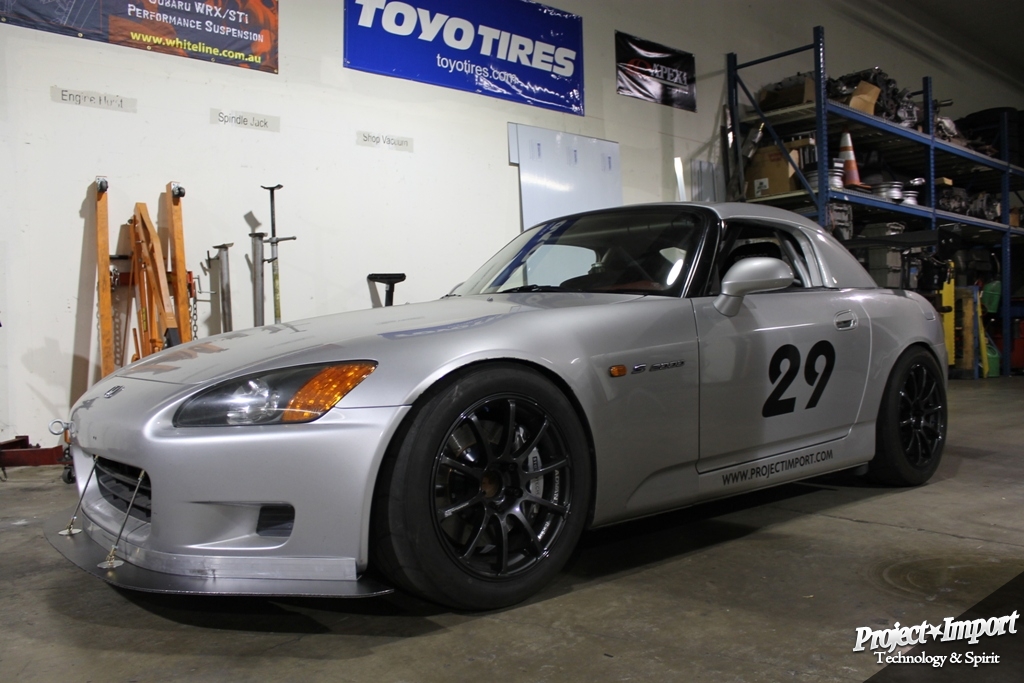
The Honda S2000, ranked #1 in the BBC Top Gear Survey in 2004, 2005, and 2006. They said ” Again it shows that a highly-tuned car doesn’t have to be a headache to live with, even one with an engine capable of rev’s right around 8,900rpm.” Highly tuned? But don’t we all want that? Okay then, the S2000 was rated Best track car under $10,000 by Modified Magazine in their January 2012 issue, now that’s more like it! Here at Project Import we are S2000 admirers to the say the least, and there are many steps to get the S2000 to be a well bread track machine.
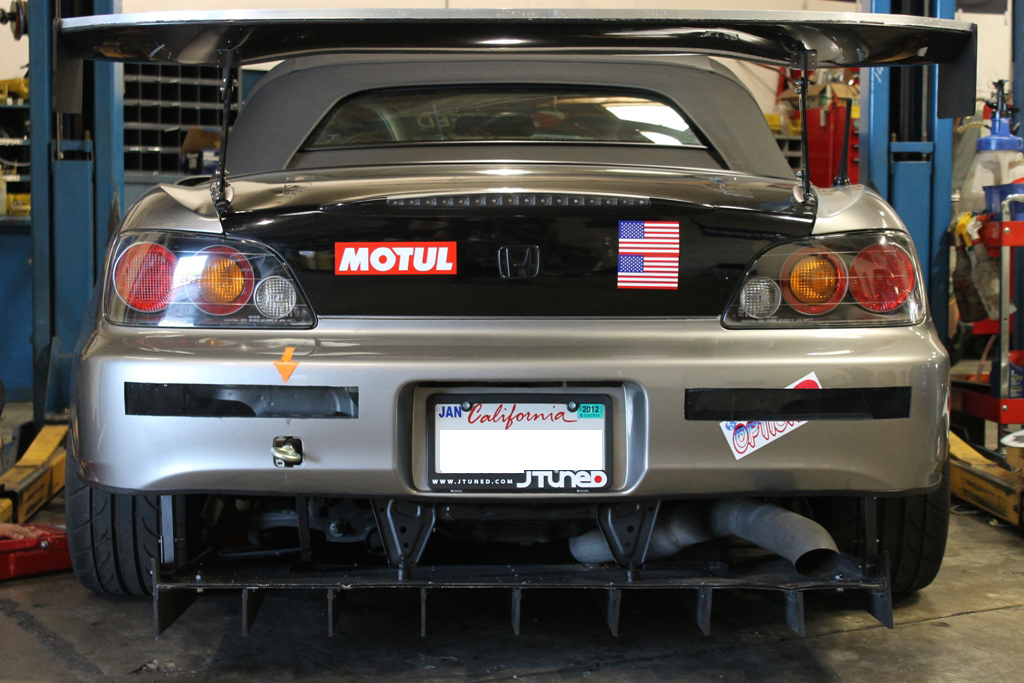
 Aside from the brakes, drivetrain, engine and suspension(tires are part of the suspension people), you have aerodynamics. Now there are plenty of well made adjustable wings out on the market for S2000’s that were made using technical data from wind tunnels tests or a fluid dynamics analysis. So that area is covered. But what about the front wind splitter? There are options out there integrated into front bumpers, but the amount of money you have to spend after one off course adventure can be very expensive. Coming up with a cost effective alternative for a front wind splitter by imploring the basic knowledge we have of high and low pressure zones we come up with “Backyard Aero”. Basically, the reason for a front wind splitter, plus air dam in our case, is too increase downforce and helping the tires to have more grip as well as reducing understeer. This is done by “splitting” the air creating an area of stagnate or tumbling air above the splitter causing the high pressure area you see above. The air directed under the splitter is then moving faster which causes the low pressure area. In turn high pressure is drawn to low pressure areas, Bernoulli’s principle (thanks Wikipedia).
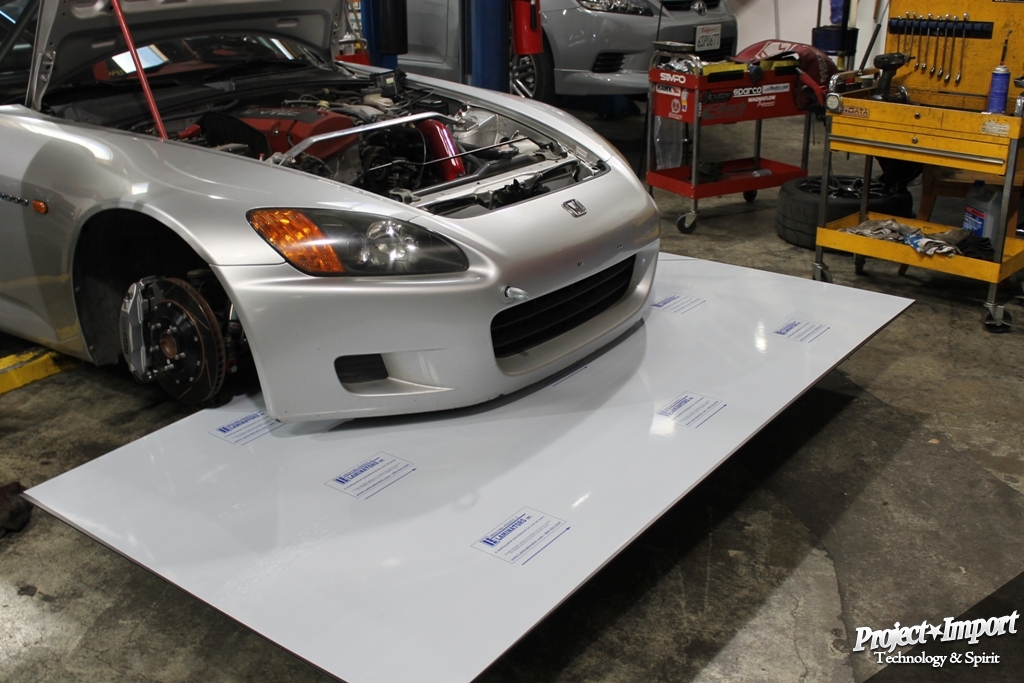
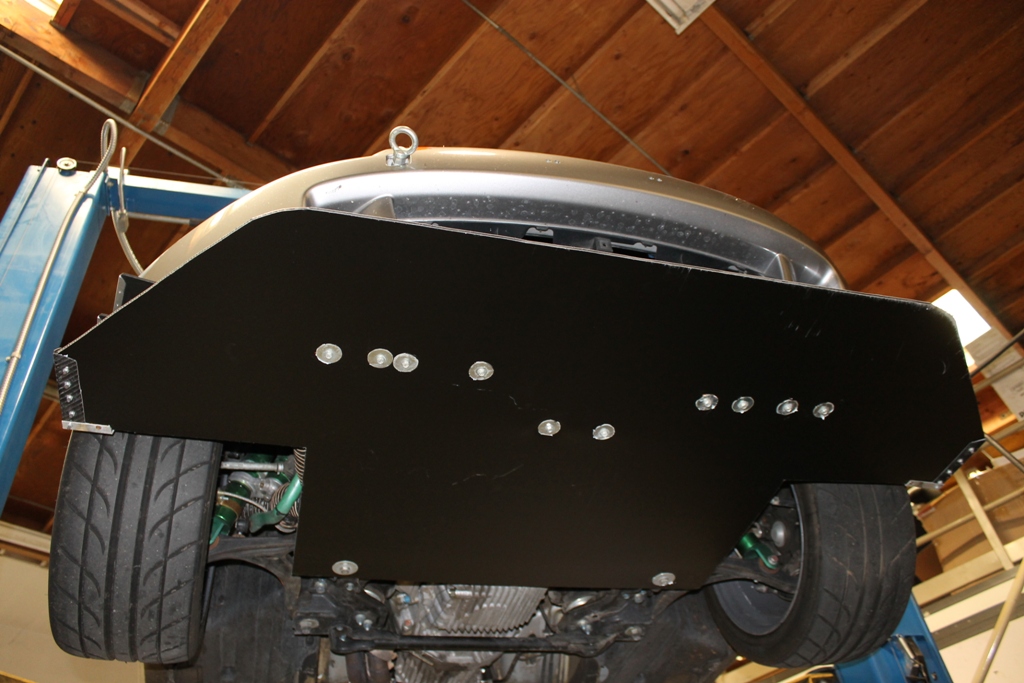
So now that we get the idea we start construction. The main component we use is a sheet of alumalite, alumalite is a strong, aluminum composite panel with a high-density corrugated polyallomer plastic. Its light weight and strong but won’t rip your whole front end off if you snag it.
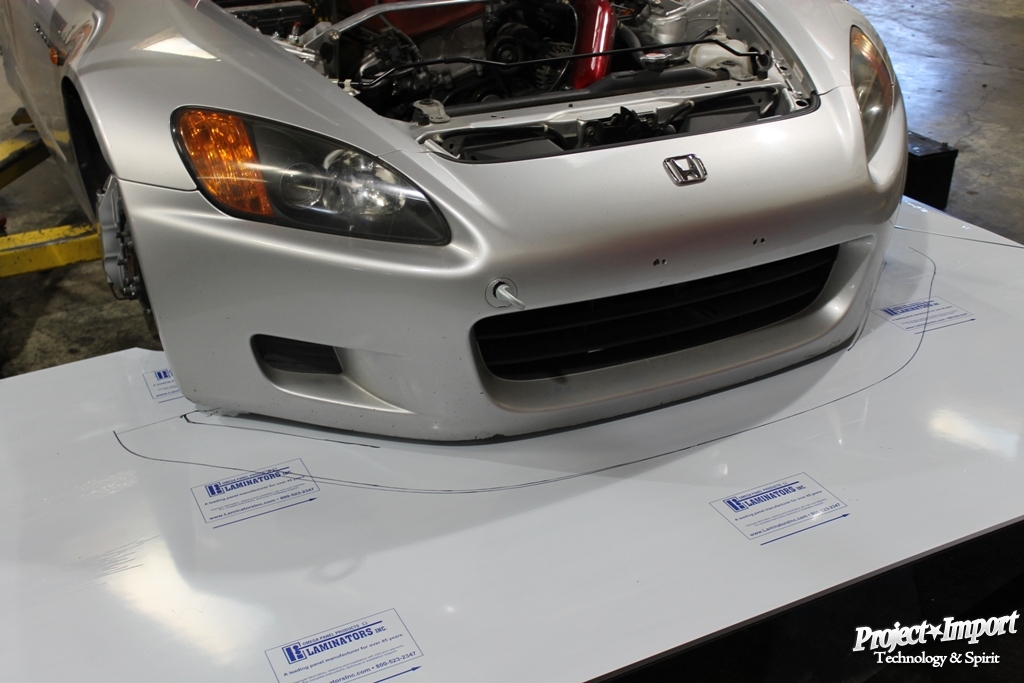
Next now that we have it place in front of the front wheels we mark it out, 5″ around the bumper (being that most rules unless competing in an unlimited category say that the splitter can not protrude more than 5″ past the bumper).
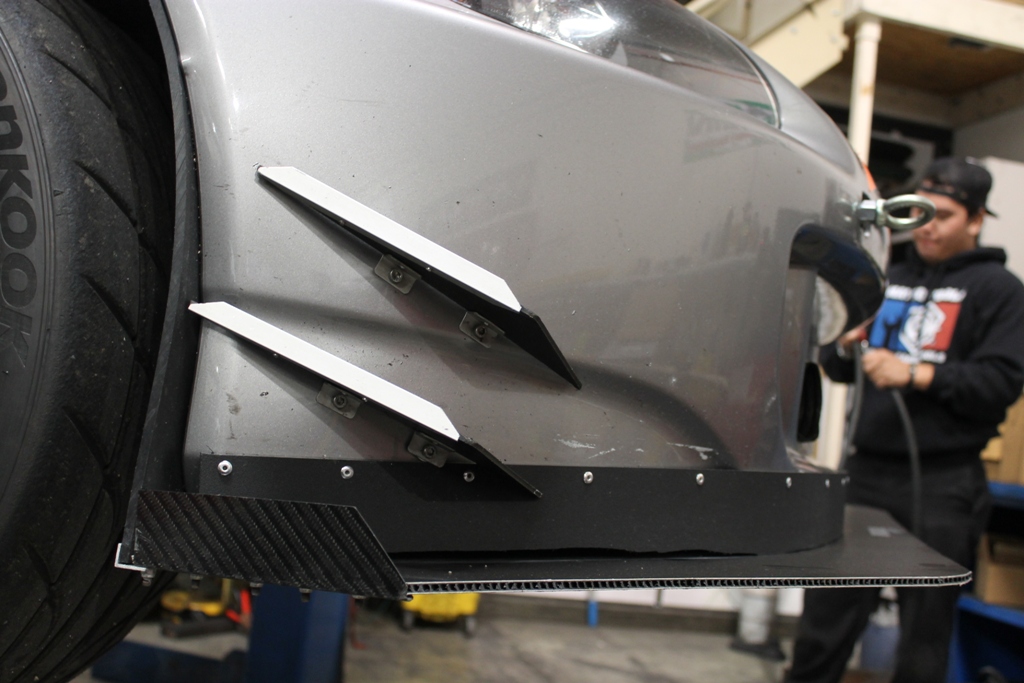
5″, as you can see we incorporate the stock fender plastics and match the splitter to it.
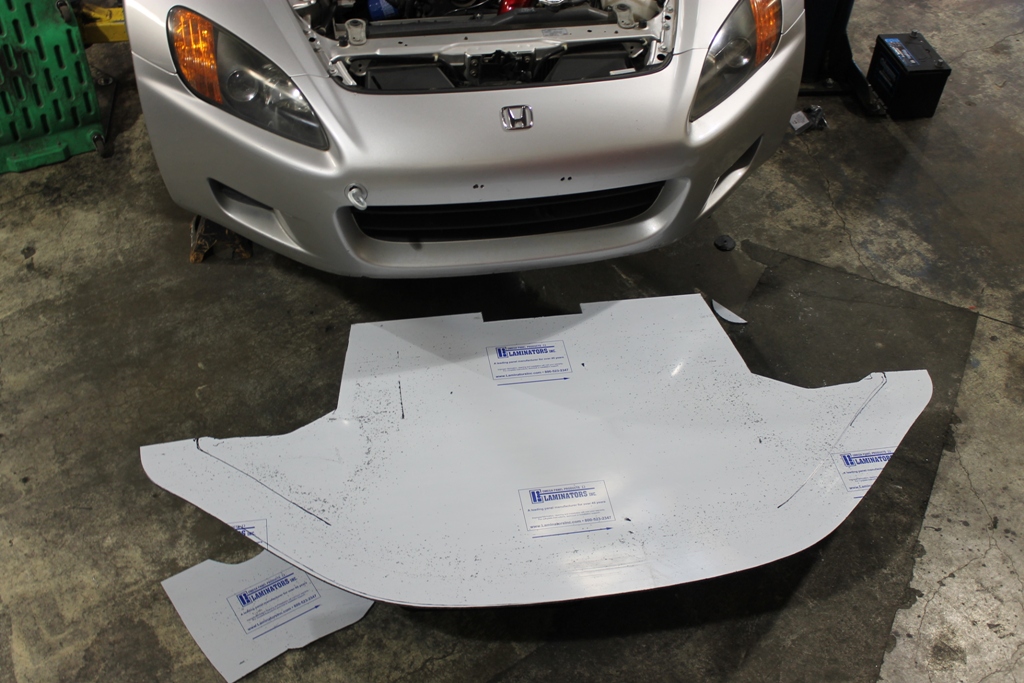
After we mark it we CUT!!!!
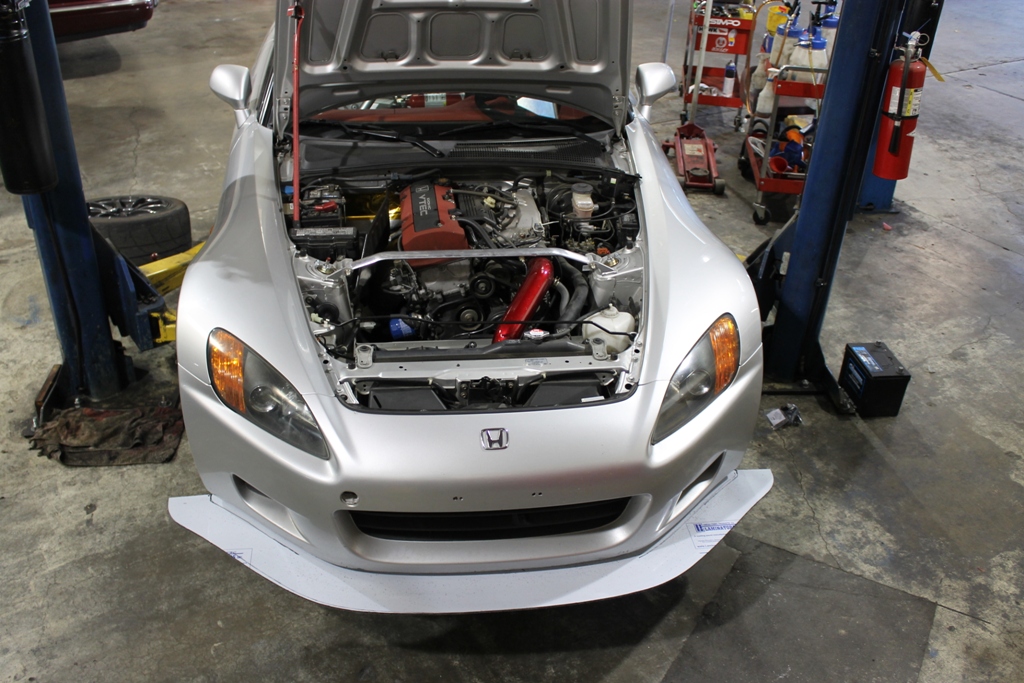
Always have to make sure it fits.
Choice of good mounting points is important, because depending on what track you are going to you may be hitting 150mph and don’t want that thing coming off.
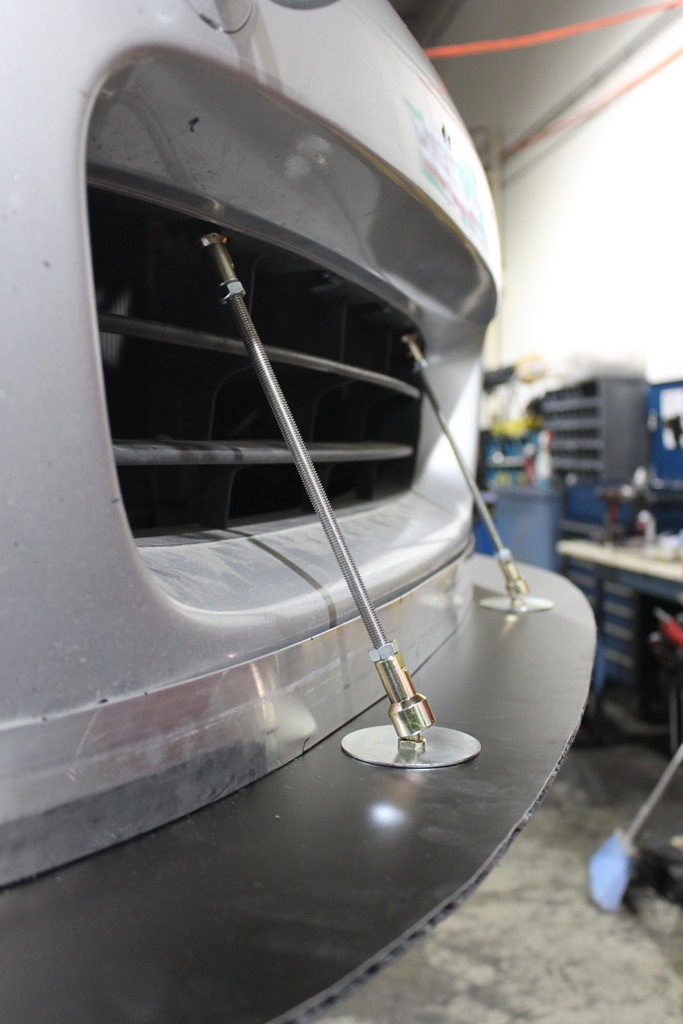
“PI splitter support rods” are important, keep the point of highest strain in check. We always tie them into the bumper beam or make a solid support. Our test is always to hang on them. Our front air dam is made of aluminum tightly attached not to allow air to pass between the bumper and the splitter.
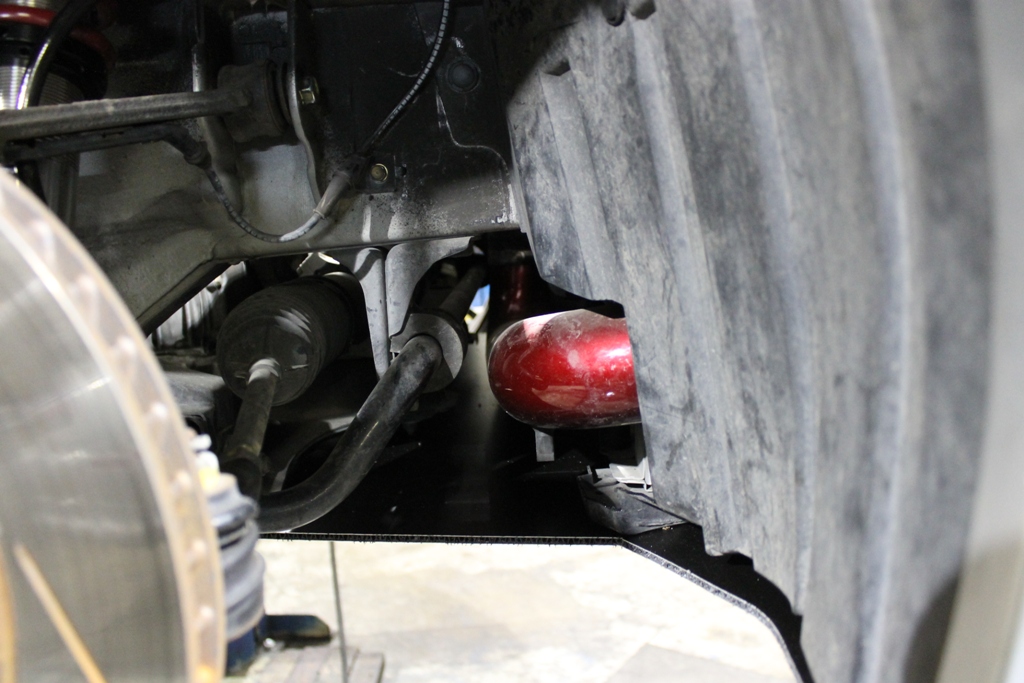
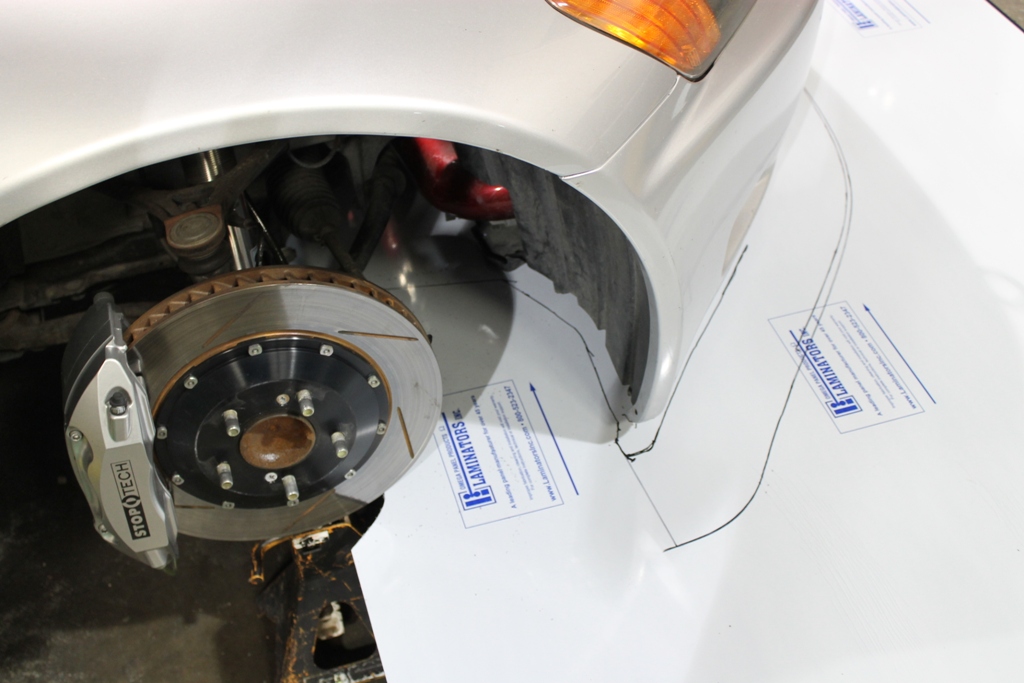
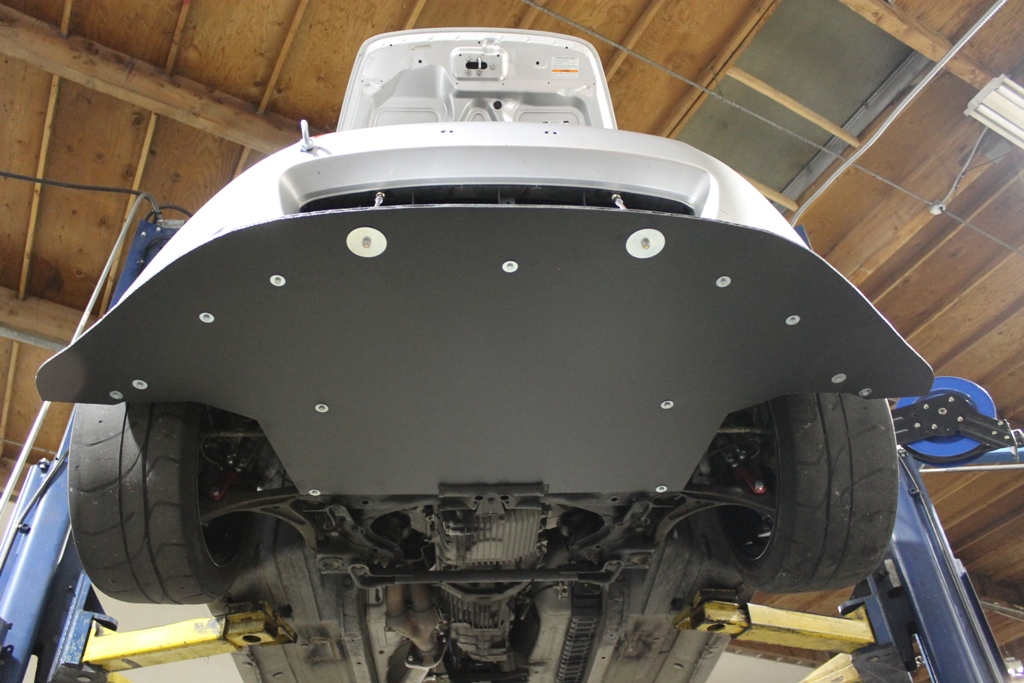
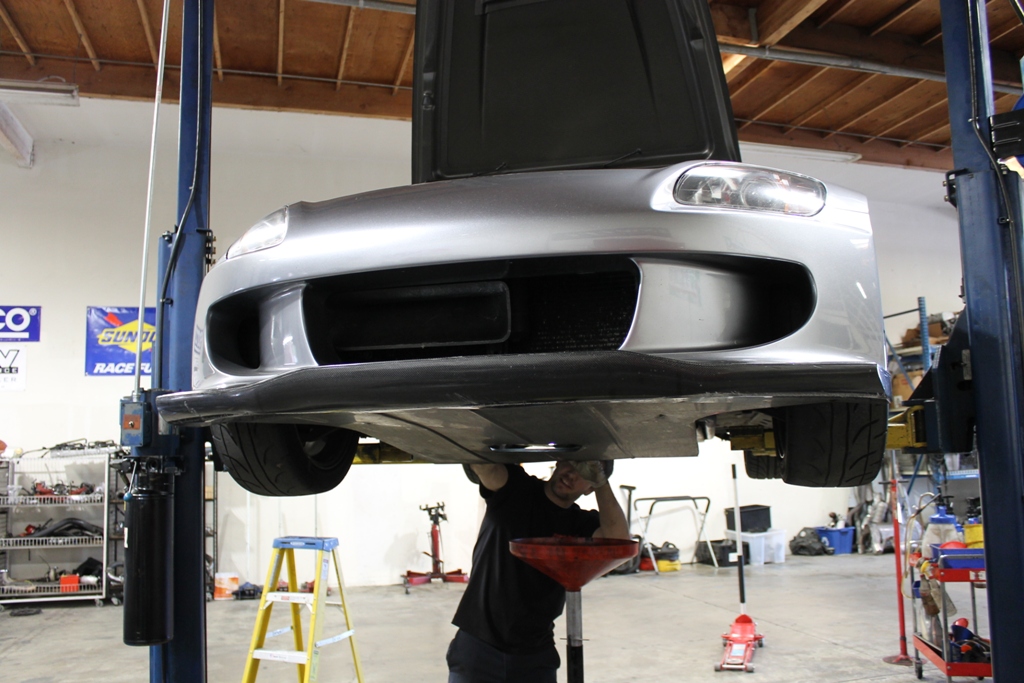
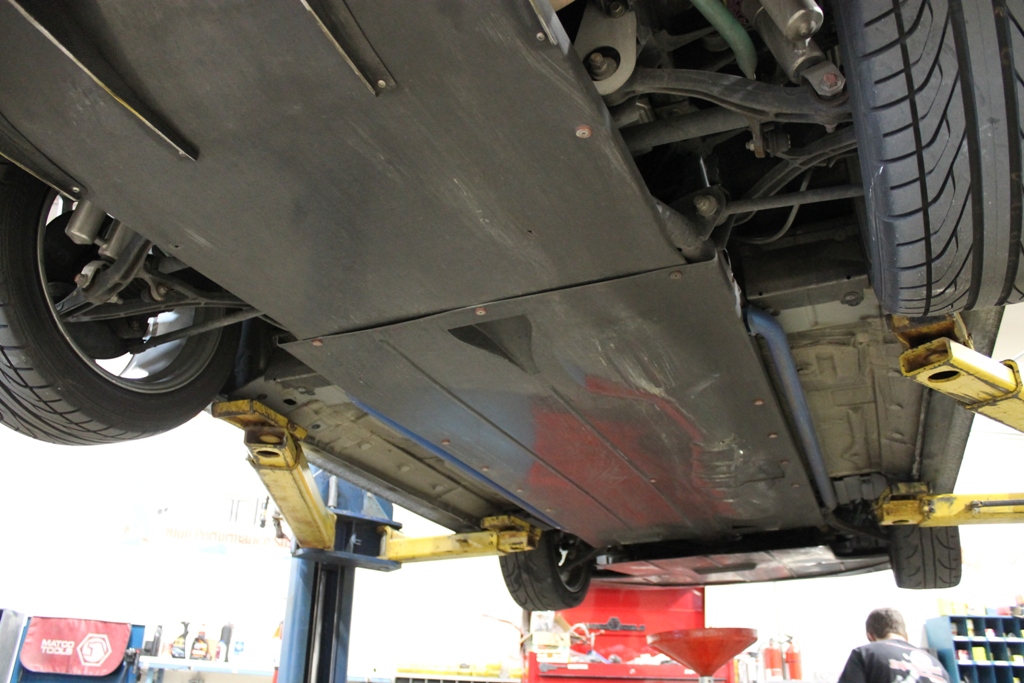
In the end you can see that the splitter goes back to the front subframe. You should always make sure that you allow some air to flow into the fender wells, or duct to the brakes. In this S2000’s case
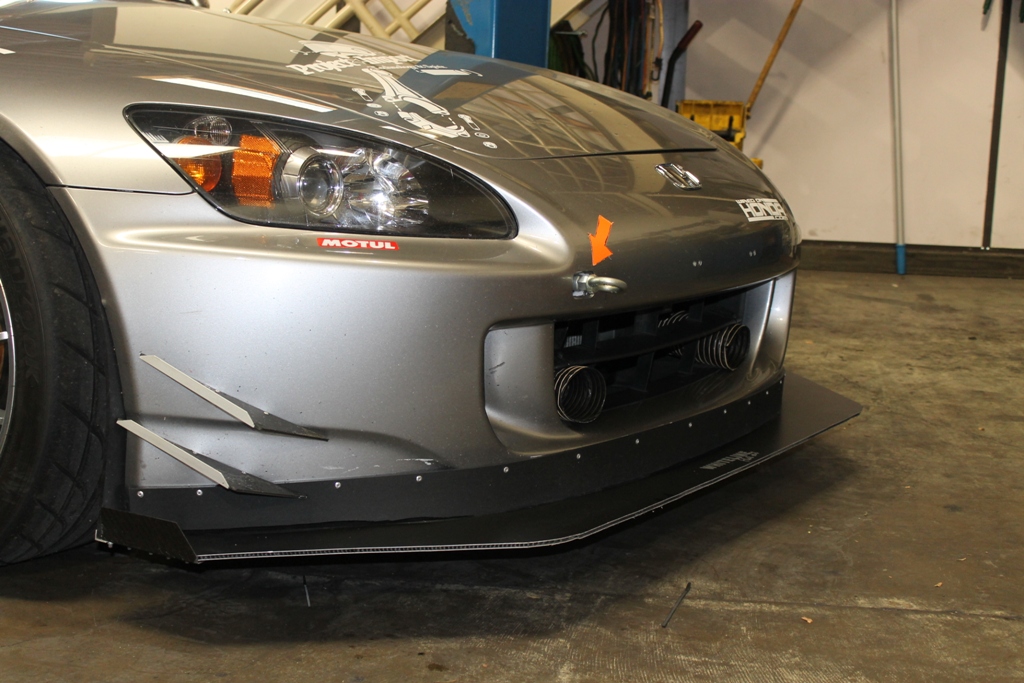
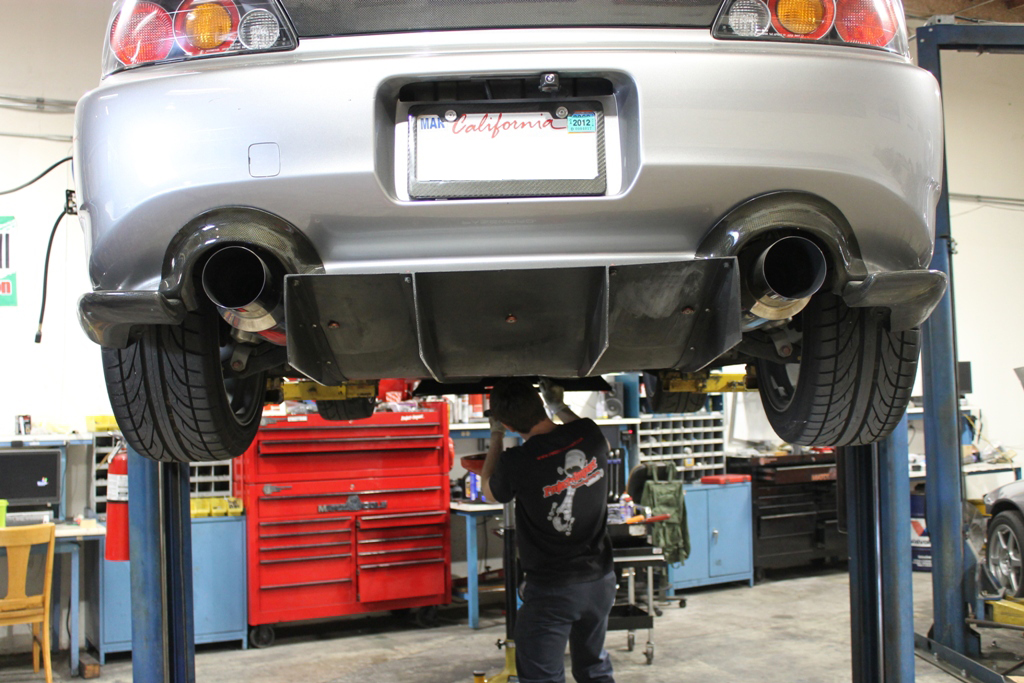
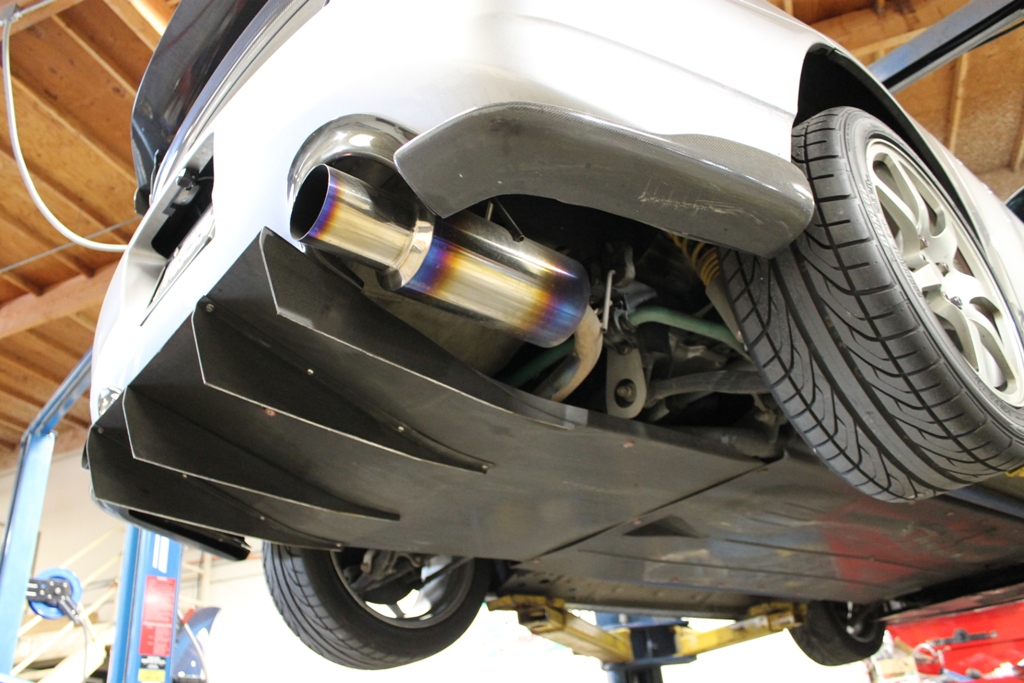
In the end a well rounded front splitter. We have also attached pictures of other S2000 aero we have had the privilege of taking pictures of. For different designs and more ideas check out http://www.mulsannescorner.com/ Driver Kevin Courtney’s personal design, he incorporated APR front canards, front air dam is made of thick plastic. Incorporated brake ducting into his vehicle.
His rear diffuser is also made from alumalite and thick plastic.
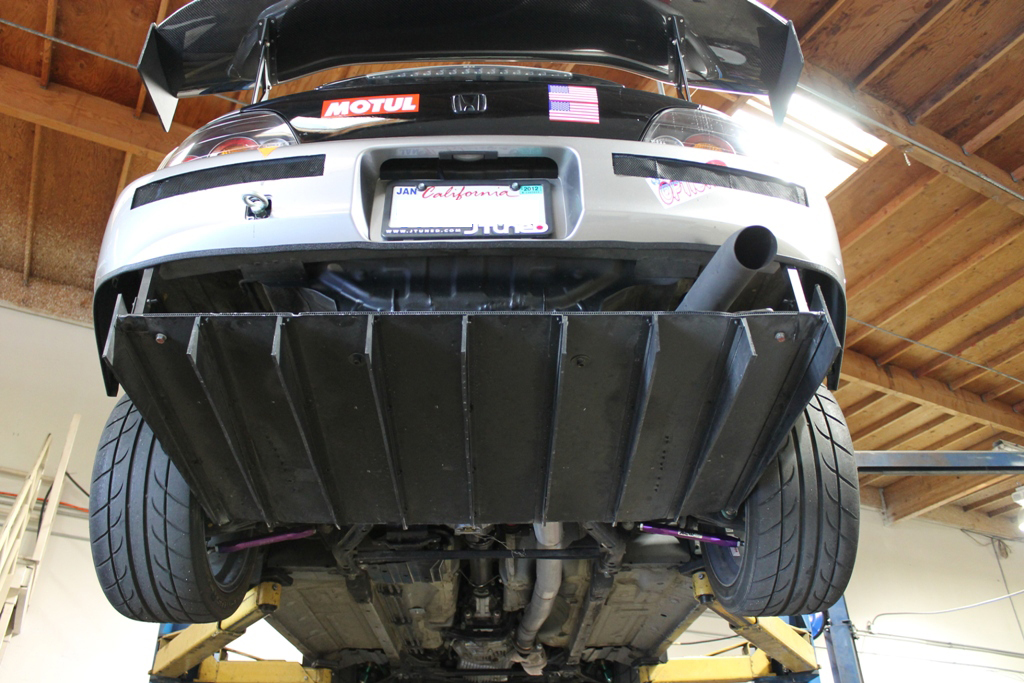
Password: JDM’s dry carbon fiber complete bottom diffuser package. Completely flat bottoms the entire care in carbon.


Leave a Reply
Want to join the discussion?Feel free to contribute!